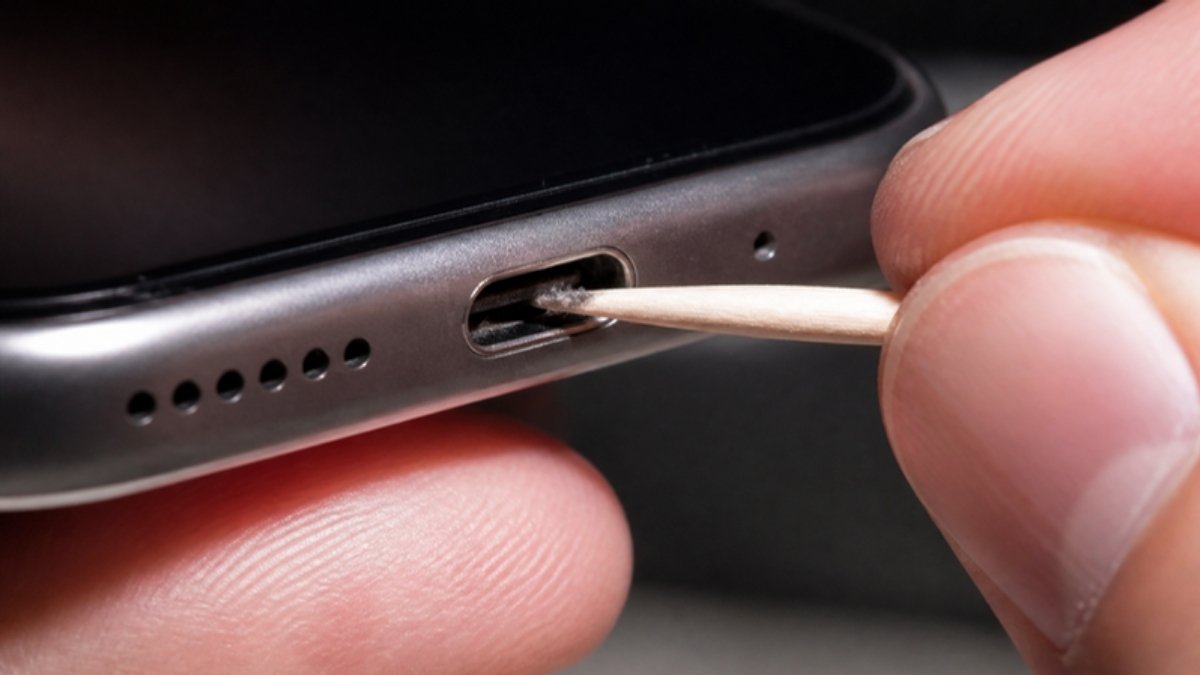
Pocket lint, dust and sand slowly pack into your charging port. Over time the cable cannot go in fully, so it feels loose, charging stops when you move, or fast charging no longer works. Cleaning the port takes two minutes and often saves a repair.
Signs your port needs cleaning
- The cable does not click in fully.
- Charging starts and stops when you move the cable.
- Fast charging no longer works.
- You can see grey fluff when you shine a torch inside.
What you need
- A torch (your other phone’s light works).
- A wooden or plastic toothpick.
- A soft, dry, clean toothbrush or small brush.
Step by step
- Switch off the phone.
- Shine the torch into the port to see the dirt.
- Gently scrape along the inside walls with the toothpick, from the back towards the opening. On USB-C, avoid pressing hard on the centre tongue.
- Pull the lint out in small pieces.
- Brush lightly to remove loose dust.
- Look again and repeat if needed.
- Switch on and test with a good cable.
What never to use
- Metal pins, needles or SIM ejector tools; they can short or bend the pins.
- Water or liquid cleaners.
- Blowing with your mouth; it adds moisture.
- Cotton buds; fibres get left behind.
- Strong compressed air very close to the port.
If it still will not charge
The port may be worn, bent or corroded. See charging port not working and why is my phone not charging.
Upgrade options at Simcel
- Tecno Spark 50C: IP68/IP69 dust and water resistance keeps dirt out.
- itel Power 80: IP68/IP69 and a 7000mAh battery, so you charge less often.
- Samsung Galaxy A17 5G: IP54 protection and 25W charging.


Leave a Reply