
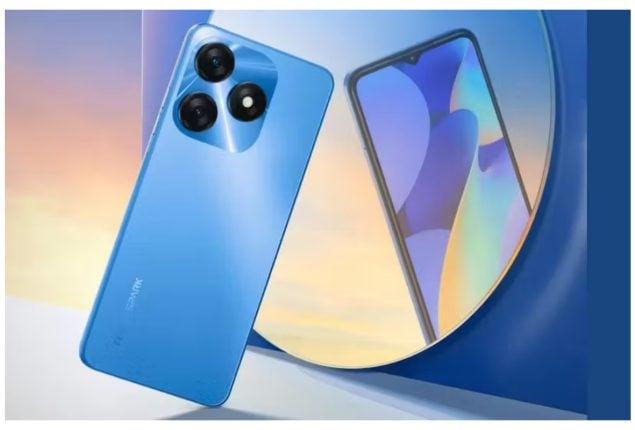
Congratulations on your new TECNO SPARK 20! This smartphone is packed with features that will enhance your daily life, from its vibrant display to its powerful camera. Setting up your new device is the first step towards making the most of these features. This beginner’s guide will walk you through the initial setup and configurations, ensuring your TECNO SPARK 20 is ready to go.
Step 1: Unbox Your Device
Before diving into the setup process, make sure you have everything you need:
- TECNO SPARK 20 smartphone
- Charger and USB cable
- SIM ejector tool
- User manual
Step 2: Insert the SIM Card and Memory Card
- Power Off Your Device:
- Press and hold the power button until the device turns off.
- Insert the SIM Card:
- Use the SIM ejector tool to open the SIM tray.
- Place your SIM card into the tray and reinsert it into the phone.
- Optional – Insert a Memory Card:
- If you have a microSD card, place it into the designated slot in the SIM tray.
Step 3: Power On and Initial Setup
- Turn On the Device:
- Press and hold the power button until the TECNO logo appears.
- Select Language:
- Choose your preferred language from the list.
- Connect to Wi-Fi:
- Select your Wi-Fi network and enter the password to connect.
- Sign In to Google:
- Log in with your Google account to sync your contacts, apps, and settings. If you don’t have a Google account, you can create one.
- Set Up Screen Lock:
- Choose a screen lock method (PIN, pattern, or password) for security. You can also set up fingerprint unlock if your model supports it.
Step 4: Transfer Data (Optional)
If you’re switching from another device, you can transfer your data:
- Using Google Backup:
- If you previously backed up your data to Google, you can restore it during setup.
- Using TECNO’s Clone App:
- Download the Clone App on both devices to transfer data wirelessly.
Step 5: Customize Your Settings
- Set Up Themes and Wallpapers:
- Go to Settings > Display > Wallpaper to choose a new wallpaper.
- Explore the Themes app to customize the look of your device.
- Adjust Display Settings:
- Set your screen brightness and sleep time in Settings > Display.
- Enable Dark Mode:
- Activate dark mode for a more comfortable viewing experience in Settings > Display > Dark Mode.
- Configure Sound Settings:
- Customize ringtones, notification sounds, and volume levels in Settings > Sound.
Step 6: Install Essential Apps
Here are some essential apps to get you started:
- Social Media: Facebook, Instagram, Twitter
- Messaging: WhatsApp, Telegram
- Productivity: Google Drive, Microsoft Office, Evernote
- Entertainment: YouTube, Netflix, Spotify
- Utilities: Google Maps, Weather, Calculator
You can download these apps from the Google Play Store.
Step 7: Set Up Email Accounts
- Gmail:
- Open the Gmail app and sign in with your Google account.
- Other Email Accounts:
- Go to Settings > Accounts > Add account to set up additional email accounts.
Step 8: Enable Backup and Sync
Ensure your data is backed up regularly:
- Google Backup:
- Go to Settings > System > Backup and enable Google Backup.
- Photos and Videos:
- Open Google Photos and enable backup and sync to store your photos in the cloud.
Step 9: Explore Additional Features
Take advantage of TECNO SPARK 20’s unique features:
- Smart Panel: A customizable sidebar for quick access to apps and tools.
- Game Mode: Optimize performance and minimize distractions while gaming.
- App Twin: Run two instances of the same app for managing multiple accounts.
Conclusion
Setting up your new TECNO SPARK 20 is a straightforward process that ensures your phone is ready for daily use. By following this guide, you’ll have your device configured with essential apps, personalized settings, and secured with the necessary locks. Now, your TECNO SPARK 20 is set up and ready to provide a seamless and enjoyable smartphone experience. Enjoy exploring all the features and possibilities your new device has to offer!


Leave a Reply